ENTURE CHECKLIST
Overview
The Checklist feature in Enture allows users to create, assign, and track structured task lists for various operations. It helps ensure compliance, consistency, and efficiency across inspections, audits, maintenance, and routine tasks.
Key Features
- Automated & Ad-hoc Checklists – Supports scheduled and on-demand checklist creation.
- Customizable Fields – Define checklist templates with specific parameters, input types, and validation rules.
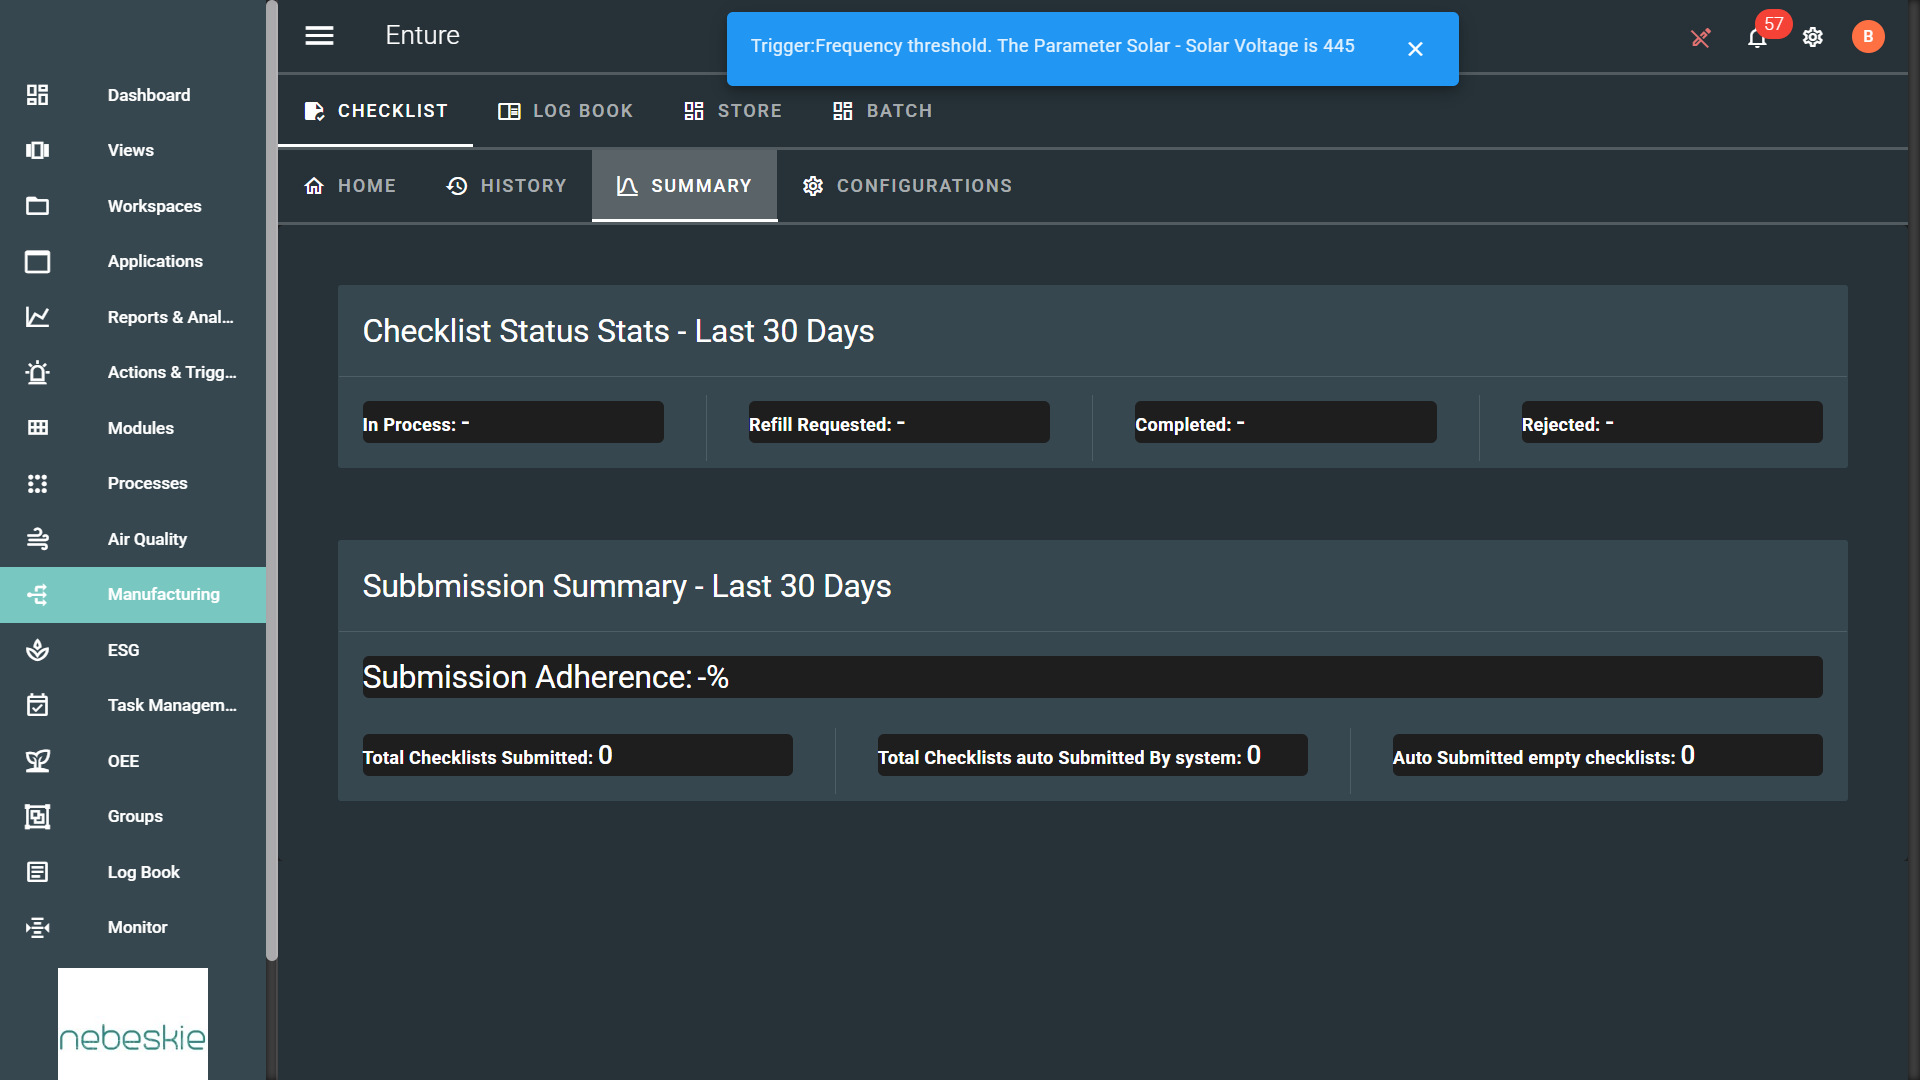
- Real-time Tracking – Monitor checklist progress and completion status.
- Role-Based Access – Assign checklists based on user roles and responsibilities.
- Multi-Device Accessibility – Access checklists via web and mobile applications.
Steps to Access the Checklist
- Login to the Enture Platform using https://enture.nebeskie.com/ .
- Enter the Org Alias, User ID, and Password.
- Click on Login.
- Click on Manufacturing in the left panel.
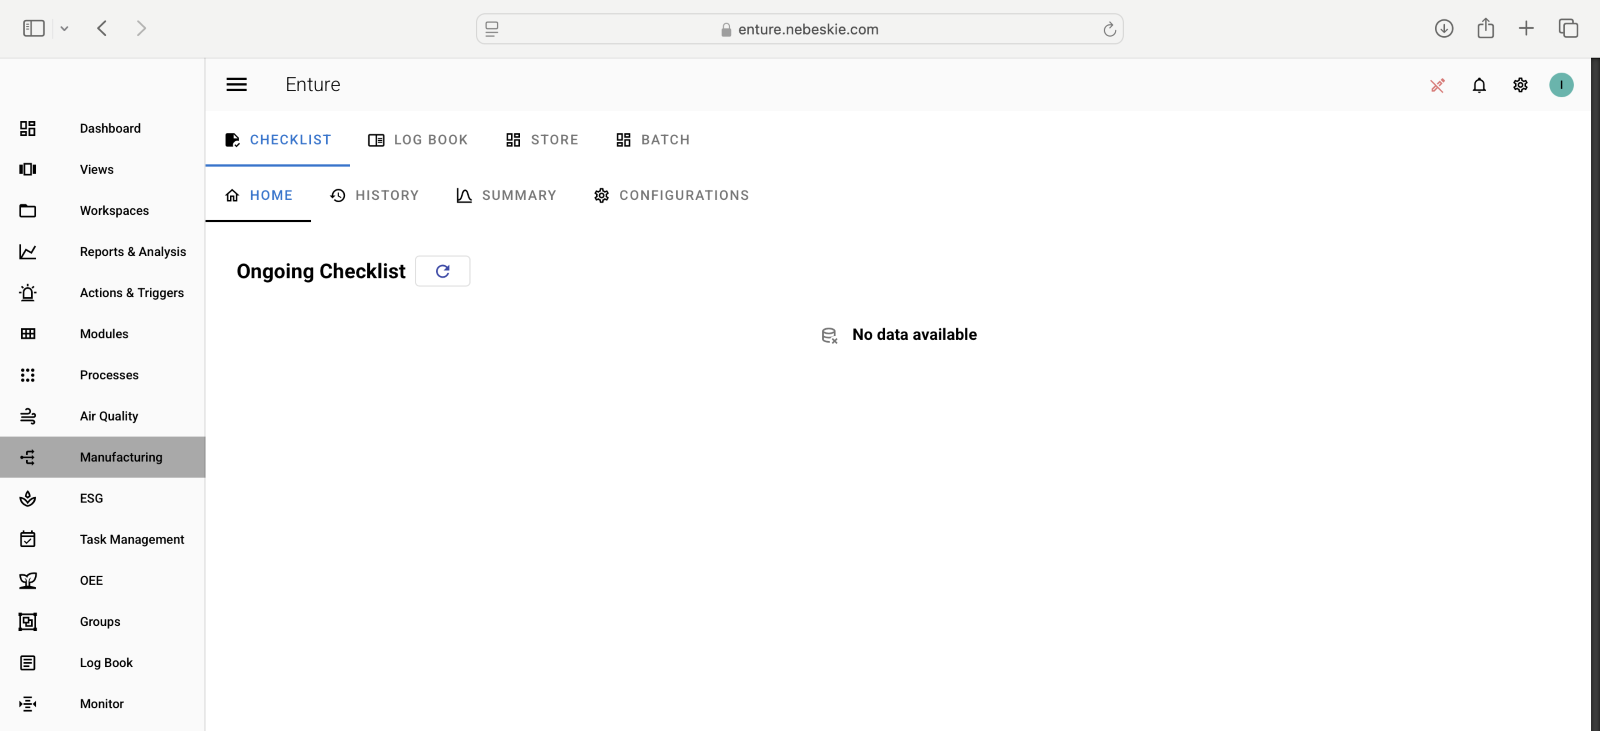
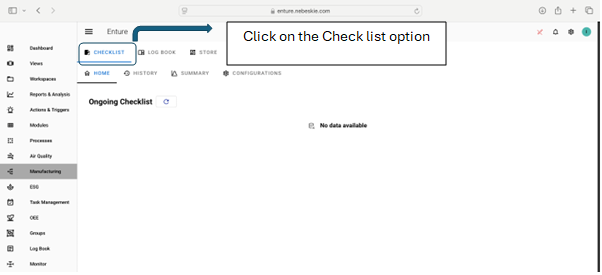
- Click on Checklist in the top tile.
- Click on Checklists in the centre pane.
- If the user is a maker, then all ongoing checklists are visible under the Home tile, and the user can proceed to capture the details accordingly.
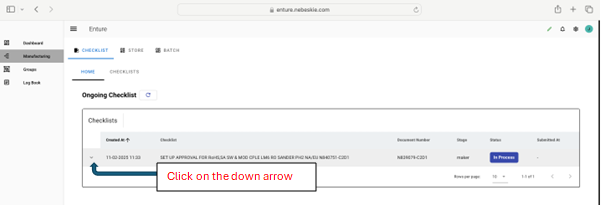
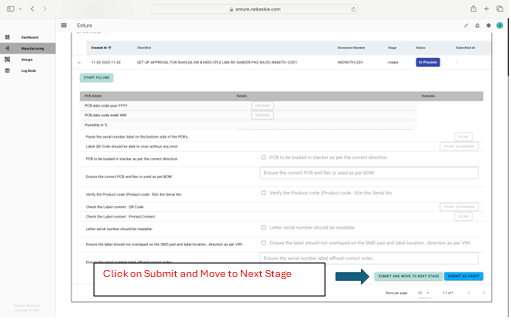
8.Click on Start Filling to fill the details
9.Once filled, the maker has two options to proceed:
- Submit and Move to Next Stage – This will submit the checklist for the next stage whereafter it will be visible with the Approver to approve, reject, or request a refill.
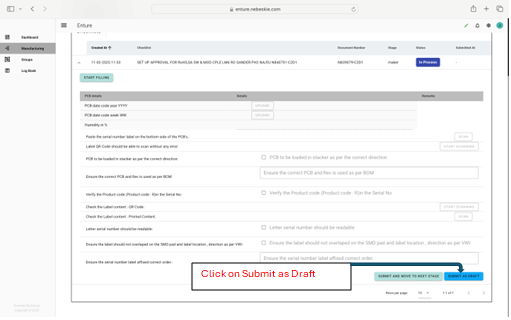
- Submit as Draft – This option saves the checklist with all the details as a draft which later can be edited and submitted to move it to the next stage.
10.If the user is an approver, then all the checklists that have been filled and submitted are visible under the Home tile.
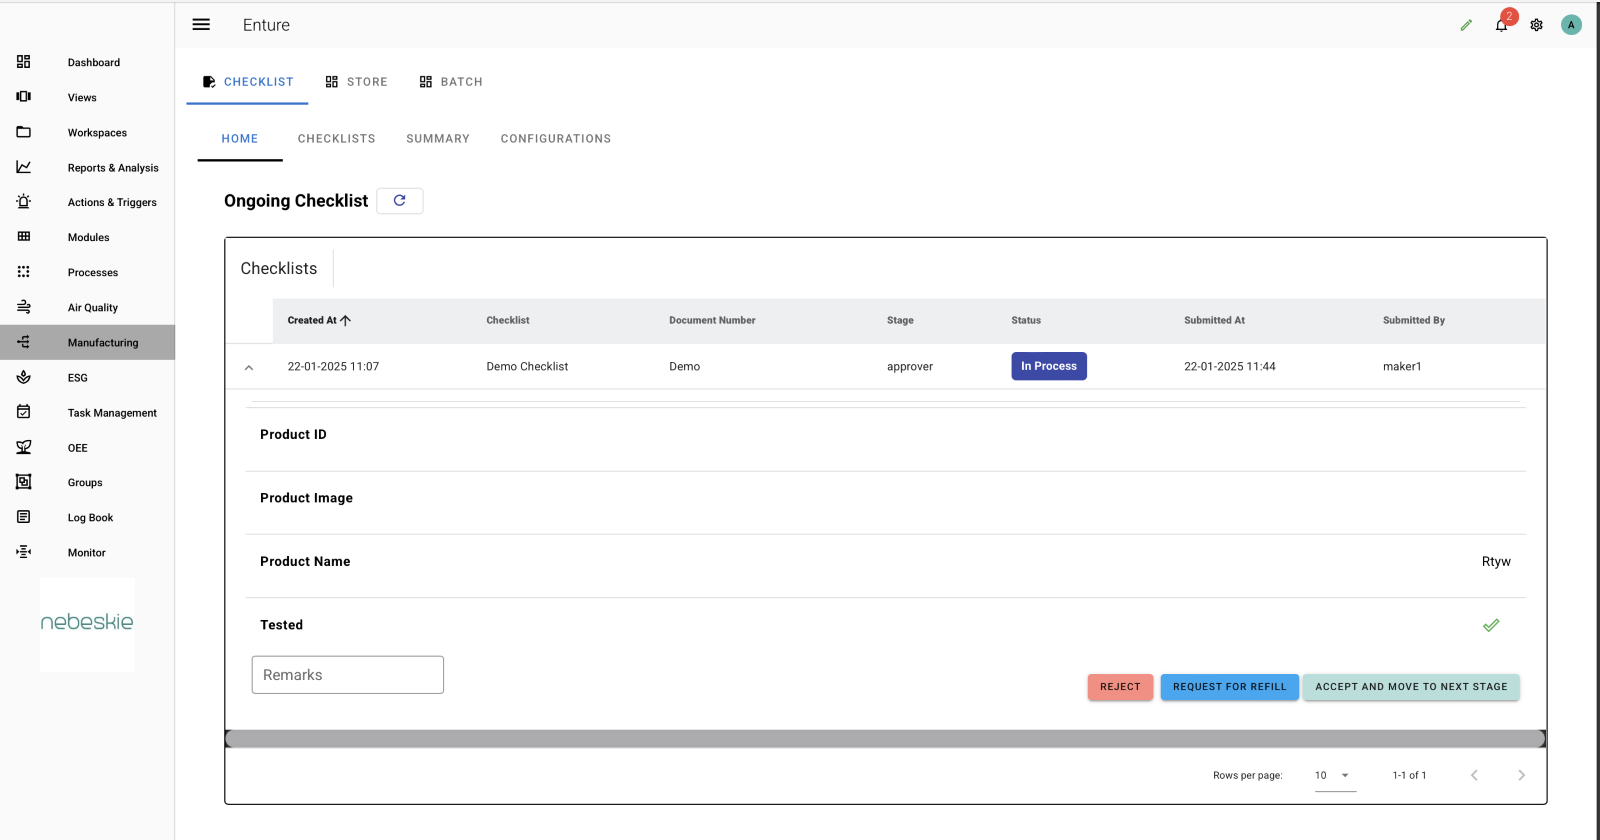
Approver Options
The approver gets the following options for the checklists:
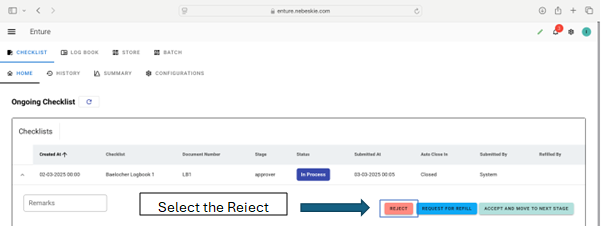
- Reject – Rejects the checklist and notifies the maker if the uploaded data is not proper.
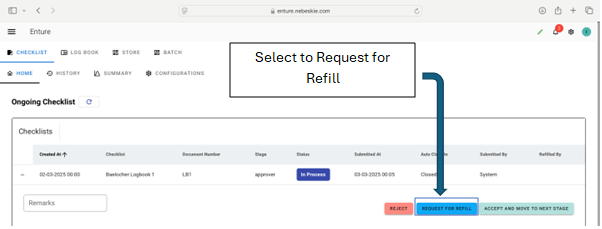
- Request for Refill – Enables the approver to request the maker to refill the data. After selecting this option, the approver must choose a user to assign the task and then click the Submit button.
- Accept and Move to Next Stage – Accepts the details filled by the maker and moves the checklist to the next stage when the entered data meets the required satisfaction level.
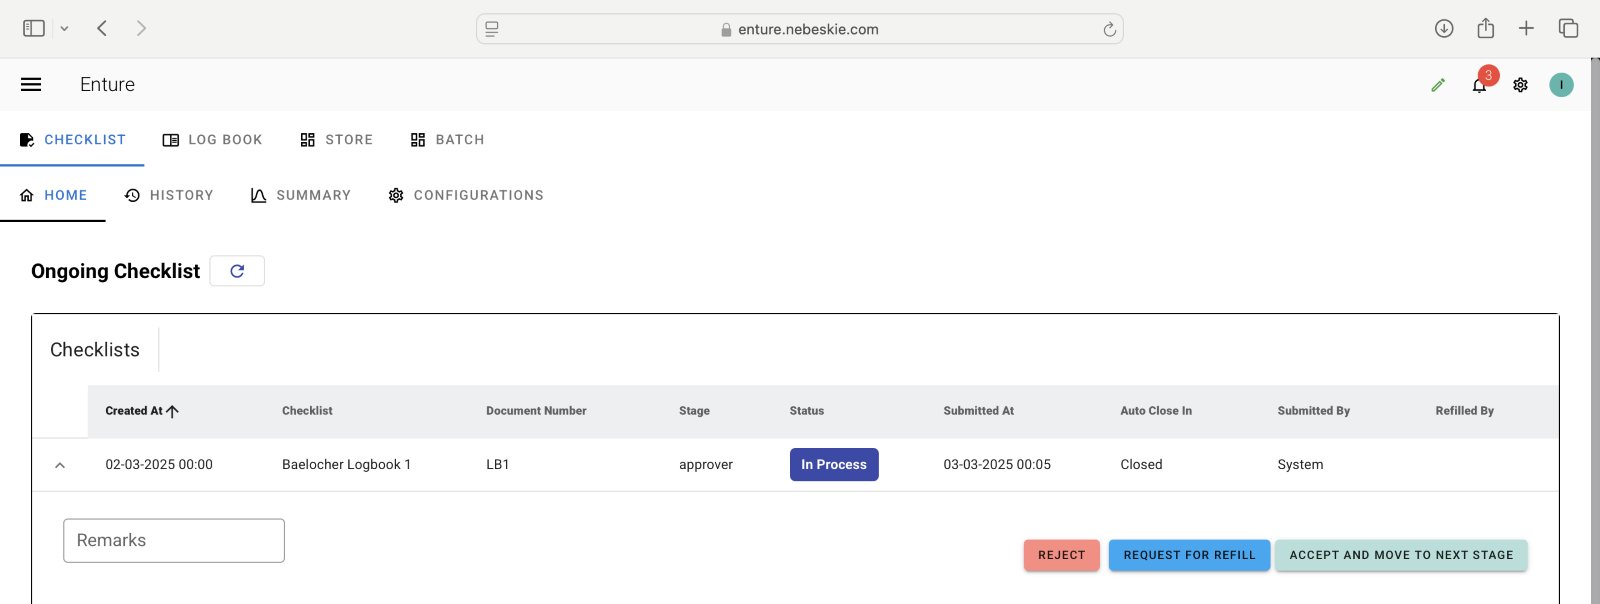
1.Reject Option The Approver can reject the checklist if the uploaded data is not proper by selecting the option shown below.
2.Request and Refill The Approver can click on the Request for Refill option if the entered data is not satisfactory as shown in the below image.
- After clicking on the Refill option, the Approver must select a user to assign the task of filling in the details.
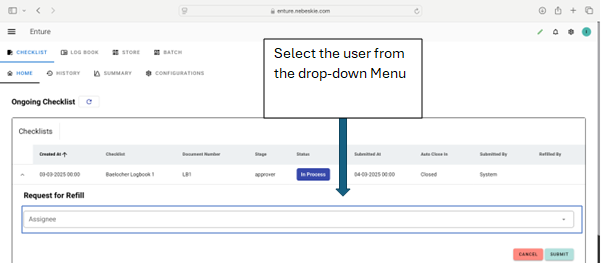
- Select the user and click the Submit button.
- Accept and Move to Next Stage

- If the entered data meets the required satisfaction level, the user can click on the Accept and Move to Next Stage option. This will accept the checklist and submit it for the specified date or month as per the scheduled frequency.
Checklist Configuration and Details
Checklist Configurations
The checklists can be configured based on the checklist cycle (from the start of filling to submission). There are two types of checklists:
-
Scheduled Checklist
The checklists are generated at a scheduled time and are expected to be closed as per predefined durations.Refer to the table below for frequency and closure duration details:
Sl. No. Frequency Details Closure Duration 1 Daily System generates report every day at 00:00 24 hours from the time of system-generated checklist 2 Weekly System generates report every Monday at 00:00 5 days from the time of system-generated checklist 3 Bi-monthly System generates report every 15th of the month at 00:00 7 days from the time of system-generated checklist 4 Monthly System generates report every 1st of the month at 00:00 10 days from the time of system-generated checklist -
Adhoc Checklists
The system generates a new checklist upon user submission for processes or tasks that require on-demand checklists, rather than following a fixed schedule. With an adhoc checklist, users must complete it within the stipulated closure duration. For example, if an adhoc checklist has a closure duration of 24 hours, the user has 24 hours to complete it from the moment they begin filling it out. After this period, the checklist will be automatically submitted, and a new checklist will be immediately generated upon submission.