Enture Checklist
The Checklist feature in Enture allows users to create, assign, and track structured task lists for various operations. It helps ensure compliance, consistency, and efficiency across inspections, audits, maintenance, and routine tasks.
Configuration of Checklist
To create a checklist:
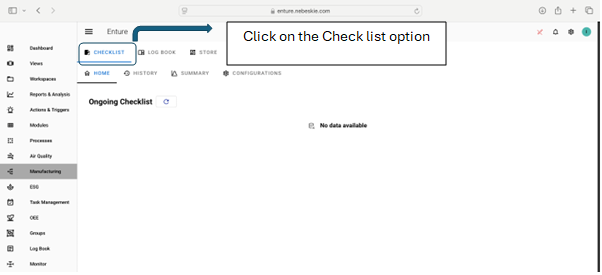
- Choose “Manufacturing” from the left side menu.
- Then choose the Checklist tab.
Once selected, you will see four tabs under the Checklist section:
- Home
- History
- Summary
- Configuration
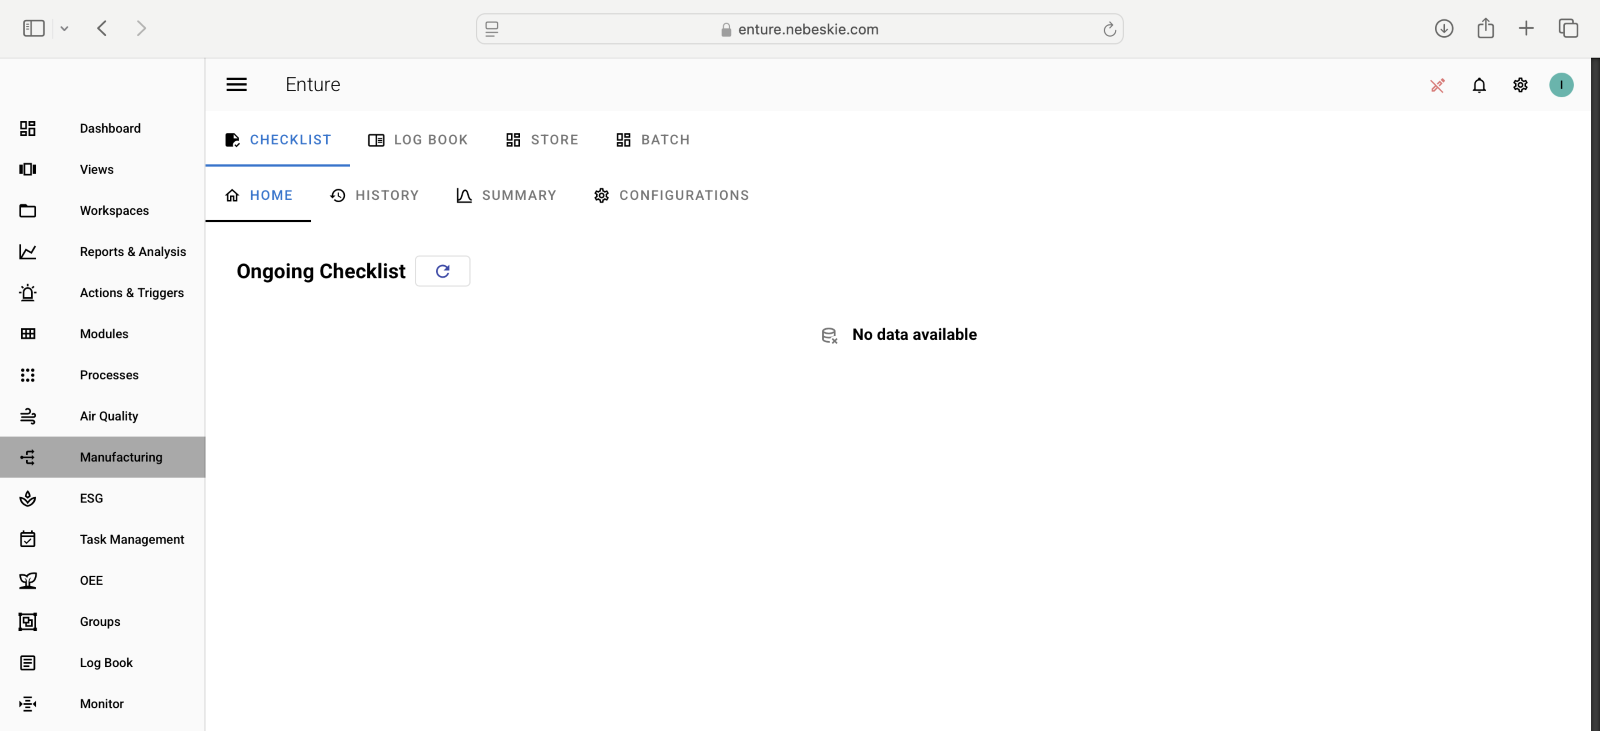
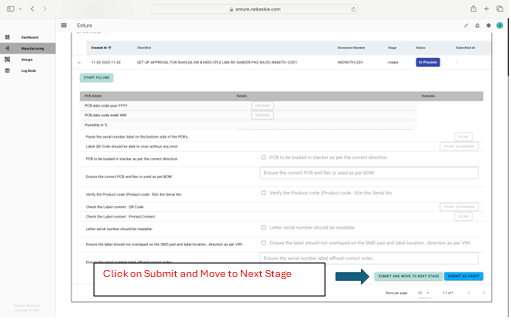
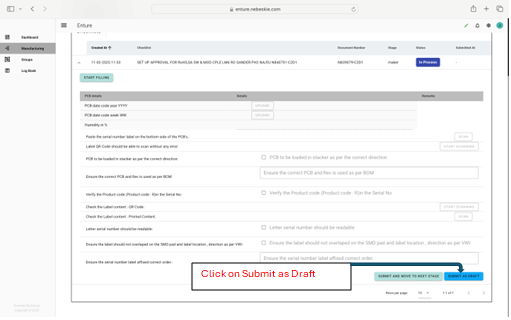
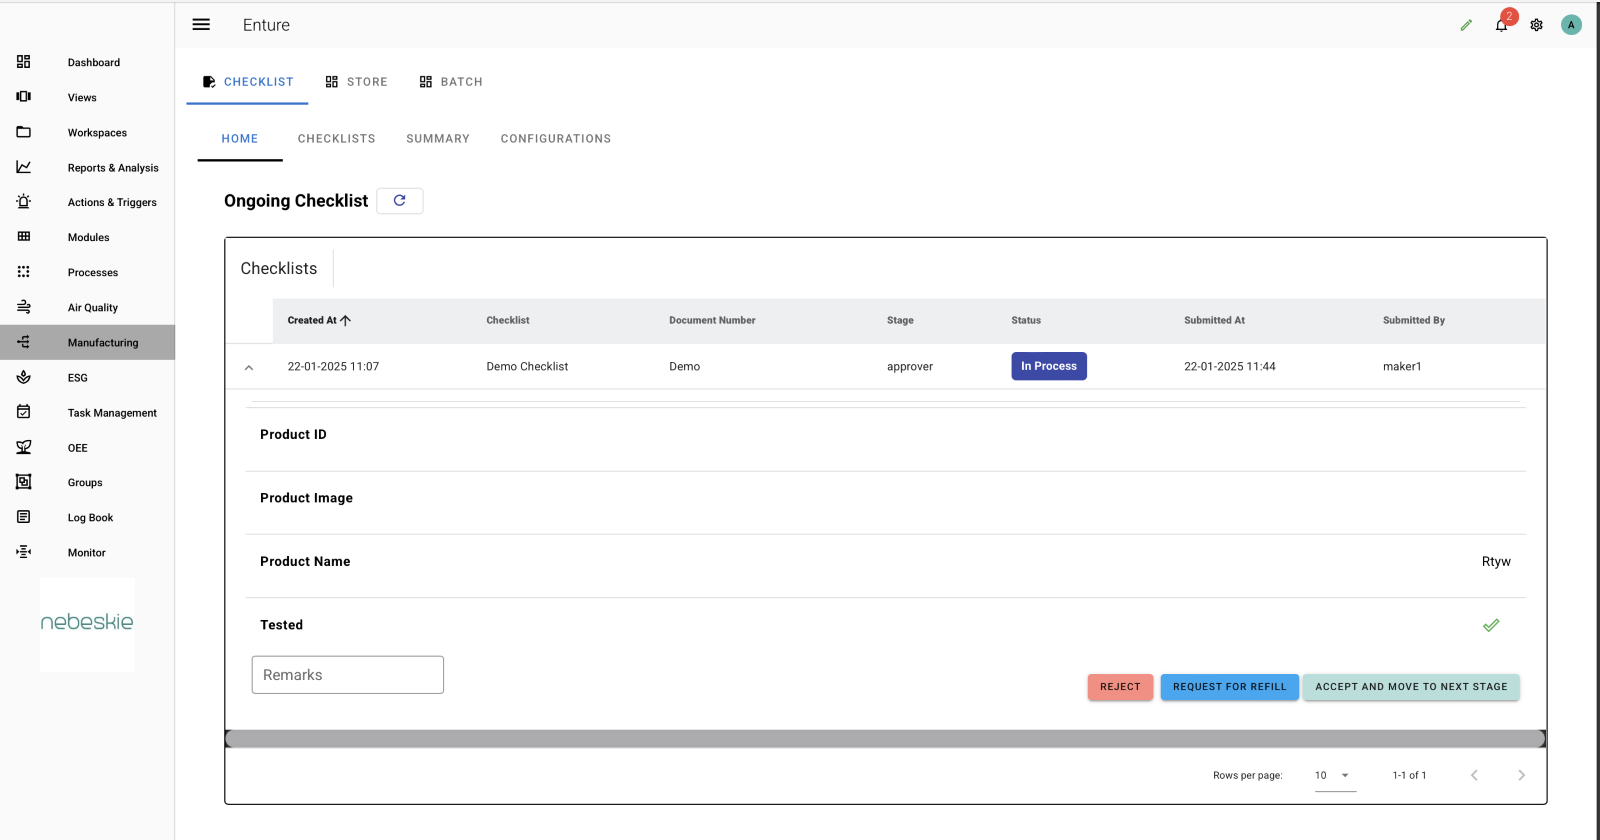
🏠 Home Tab
In the Home page, you will see the Ongoing Checklist, as shown below:
📜 History Tab
The History tab displays all the checklists that have been created.
You can filter checklists based on:
- From time and To time
- Timestamp type
- Status
- Stage
Click the Submit button to view the results.
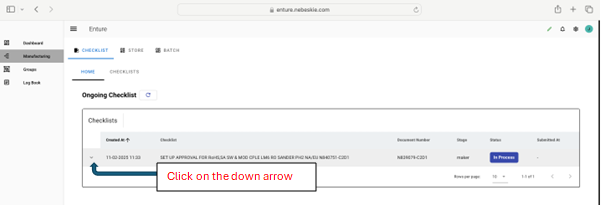
You will see a table with the required details. Click the dropdown arrow on any checklist to view more information.
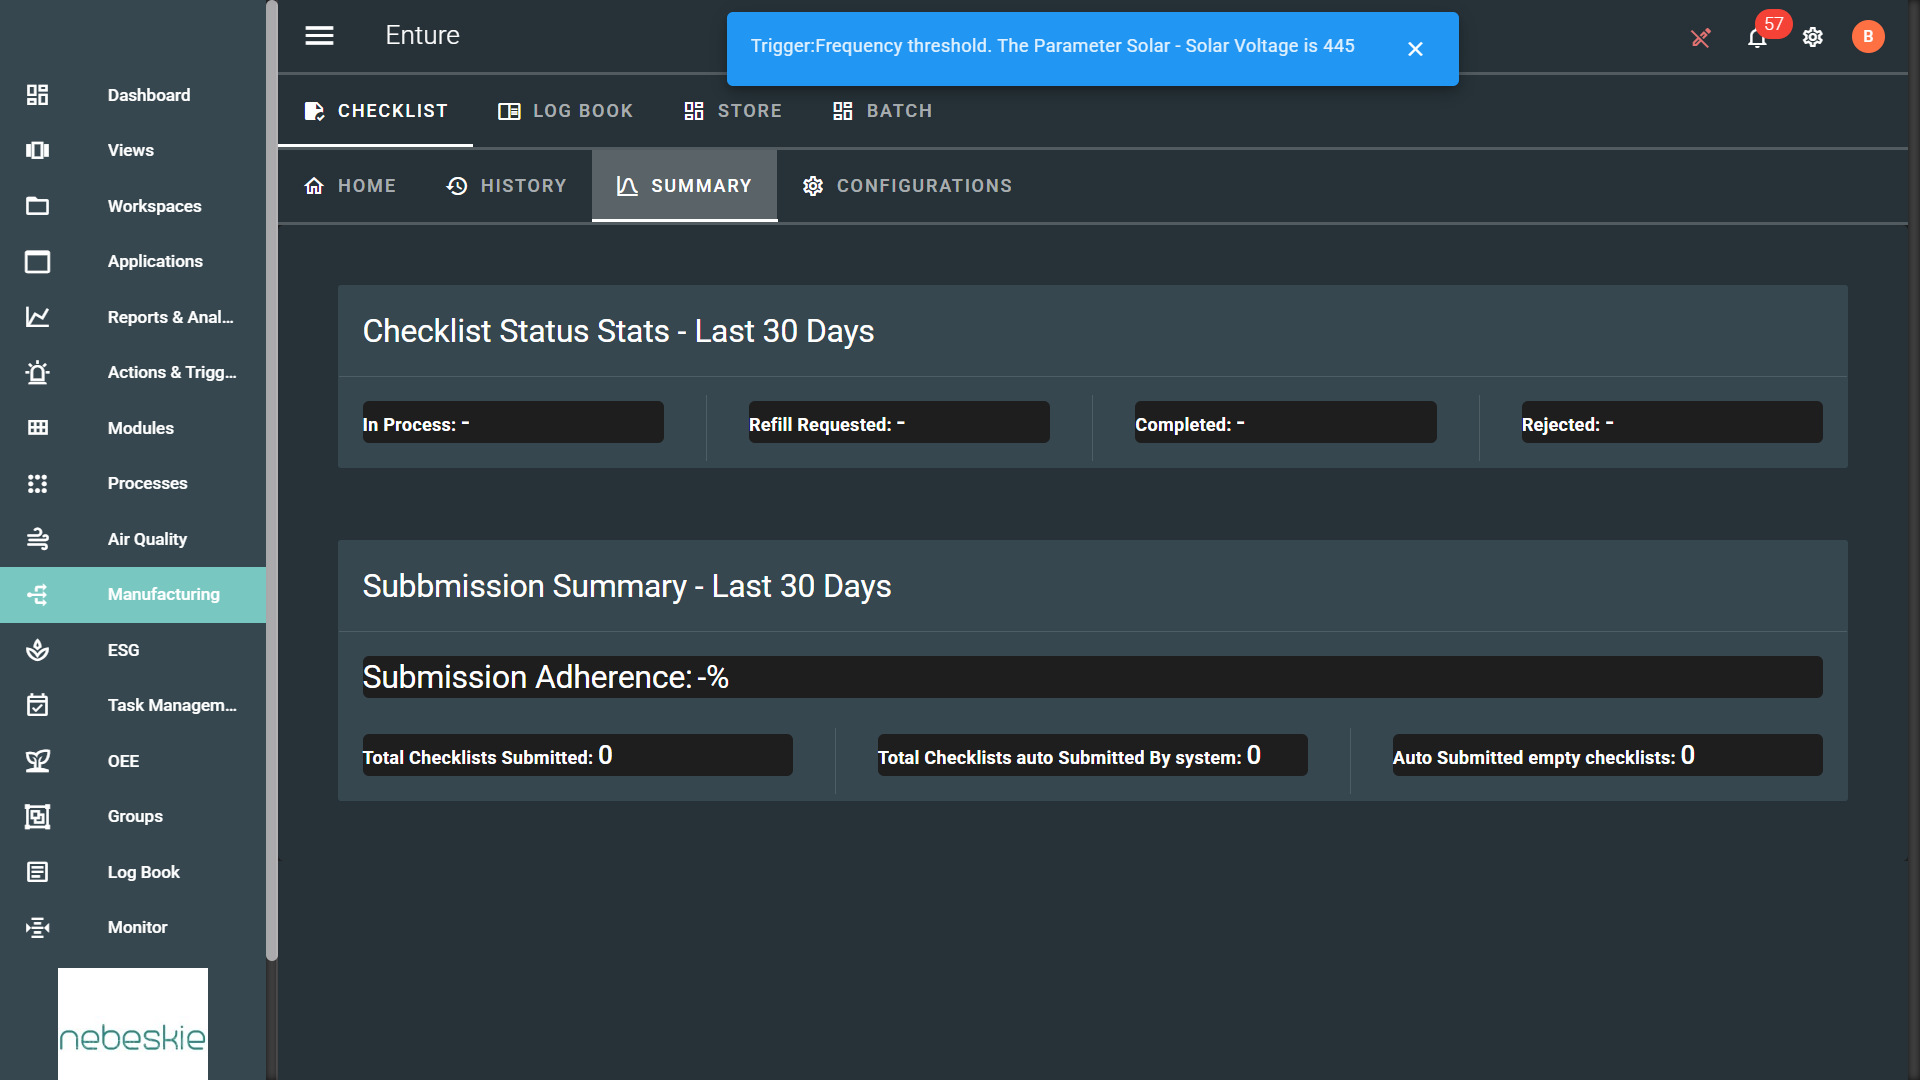
📊 Summary Tab
The Summary tab shows:
- Overall summary status
- Checklist completion status
⚙️ Configuration Tab
The Configuration tab allows users to manage checklist templates.
➕ Create Checklist Template
Click the “Create Checklist Template” button to open the form.
Fill in all the required inputs and click Submit.
The created templates will be displayed in a table.
✏️ Edit Checklist Template
- Click the dropdown arrow of the checklist template you want to edit.
- Click “Edit Checklist Template”.
- Make the necessary modifications and click Submit to update.
🗑️ Delete Checklist Template
If no longer required, you can delete the checklist template using the Delete option in the dropdown.
✅ Create Checklist
Click the “Create Checklist” button. You will be directed to the input form.
Fill in all required inputs and click Submit. The created checklist will appear in a table below.
✏️ Edit / 🗑️ Delete Checklist
To edit or delete an existing checklist:
- Click the dropdown arrow on the checklist.
- Choose either “Edit Checklist” or “Delete Checklist”.
- Submit your changes or confirm deletion.